Table of Contents
I. Introduction to Crocheting a Tote Bag
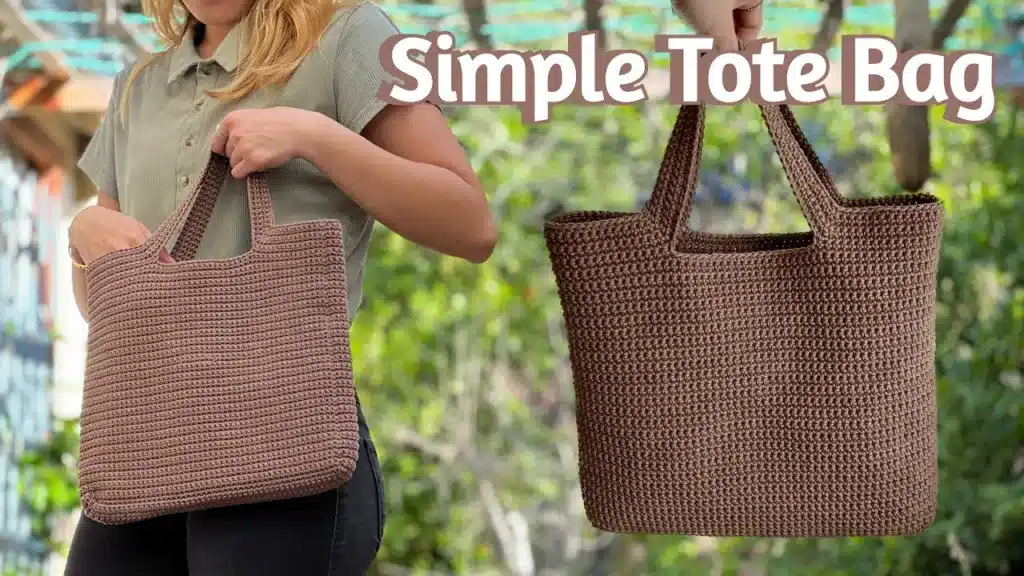
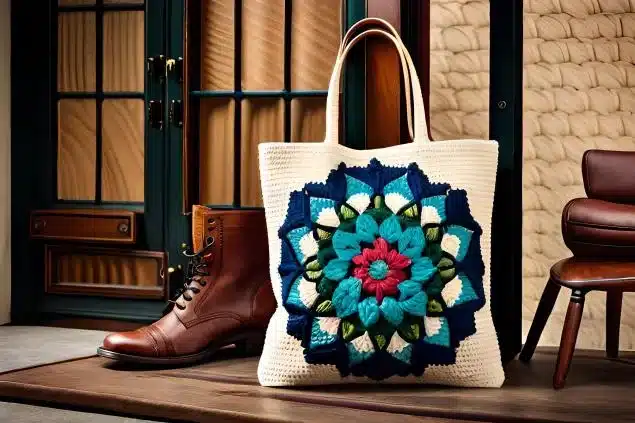
Crocheted tote bags are not only stylish and practical, but they also provide a unique opportunity to showcase your creativity and craftsmanship. Whether you’re a beginner or an experienced crocheter, learning how to crochet a tote bag is a rewarding project that allows you to create a personalized accessory that reflects your personal style.
II. Understanding the Basics of Crocheting
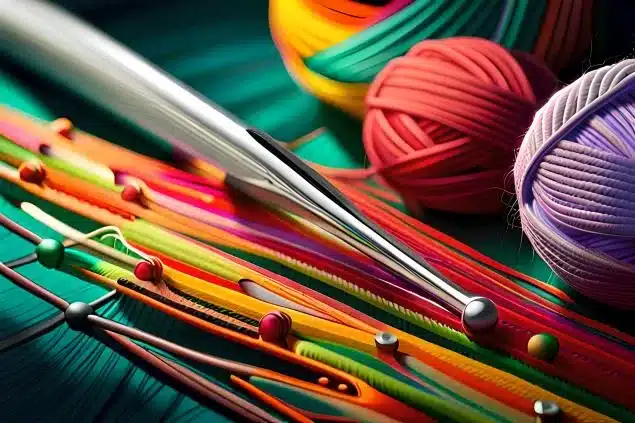
A. Tools and Materials
- Crochet Hooks
- To crochet a tote bag, you’ll need a set of crochet hooks in various sizes. These hooks come in different sizes to accommodate different yarn weights and achieve the desired tension and gauge.
- Yarn Selection and Quantity
- The type of yarn you choose for your tote bag will greatly affect its appearance, durability, and texture. Consider factors such as fiber content, weight, and color to achieve the desired outcome. Make sure to have enough yarn to complete your project, taking into account any color changes or embellishments.
- Additional Materials
- In addition to crochet hooks and yarn, you may need other materials such as a tapestry needle for weaving in ends, stitch markers to keep track of your progress, and scissors to trim excess yarn.
B. Basic Crochet Stitches Refresher
- Slip Knot
- Start your crochet project by making a slip knot, which creates a secure loop on your crochet hook.
- Chain Stitch
- The foundation of most crochet patterns, the chain stitch creates a row of interconnected loops and serves as the starting point for various stitches.
- Single Crochet
- The single crochet stitch creates a tight and sturdy fabric, making it suitable for the base and sides of your tote bag.
- Double Crochet
- The double crochet stitch is taller and creates a looser fabric, which can be used to add texture and openness to your tote bag.
- Half Double Crochet
- The half double crochet stitch falls between a single and double crochet in height. It is versatile and can be used for various parts of your tote bag.
- Treble Crochet
- The treble crochet stitch is one of the tallest crochet stitches and can create an open and lacy fabric. It can be used for decorative elements or to add length to your tote bag.
III. Choosing the Perfect Tote Bag Pattern

A. Exploring Different Crochet Patterns
- Basic Solid Tote Bag
- A simple and classic option, the basic solid tote bag pattern is perfect for beginners. It allows you to focus on mastering the essential stitches and creating a clean, minimalist design.
- Striped Tote Bag
- Striped tote bags add a pop of color and visual interest. Experiment with different color combinations and stripe widths to create a unique and eye-catching design.
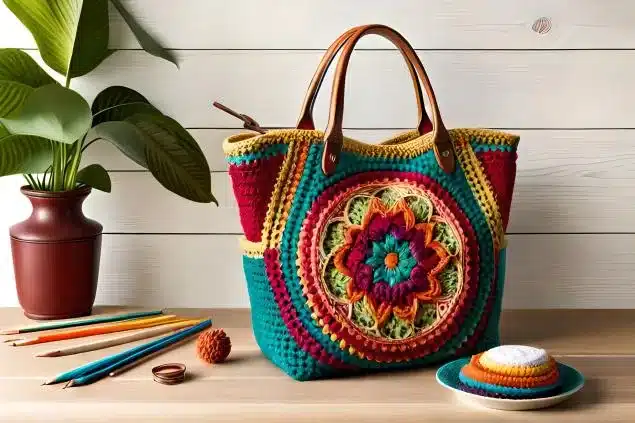
- Granny Square Tote Bag
- The granny square pattern is a versatile and timeless choice for a tote bag. Combine different colors and arrangements of granny squares to achieve a bohemian or vintage-inspired look.
- Mesh Tote Bag
- Mesh tote bags are perfect for beach trips or carrying produce. The open, breathable design allows air and sunlight to pass through while still securely holding your belongings.
- Textured Stitch Tote Bag
- If you want to add dimension and visual interest to your tote bag, consider using textured stitches. Bobble stitches, popcorn stitches, or cables can create intriguing patterns and make your tote bag stand out.
B. Evaluating Pattern Complexity
- Beginner-Friendly Patterns
- If you’re new to crocheting, start with patterns labeled as beginner-friendly. These patterns typically use basic stitches and have clear instructions that are easy to follow.
- Intermediate Patterns
- Intermediate patterns require a bit more crochet knowledge and may introduce new stitches or techniques. They offer a chance to expand your skills and challenge yourself.
- Advanced Patterns
- Advanced patterns are suitable for experienced crocheters looking for intricate designs and complex stitch combinations. These patterns may require more time and skill to complete.
IV. Preparing for Your Project
A. Gathering Necessary Measurements
– Before you start crocheting your tote bag, you’ll need to determine its desired size. Consider the intended use of the bag and measure the length, width, and depth accordingly.
B. Creating a Crochet Plan
– Sketch or visualize your tote bag design and plan the order in which you’ll work on different sections. This will help you stay organized during the crocheting process.
C. Color and Yarn Selection
– Choose yarn colors that complement your personal style and preferences. Consider the intended purpose of the tote bag and the color palette that best represents your aesthetic.
D. Calculating Yarn Quantity
– Use the given pattern or create a swatch to estimate the amount of yarn needed for your tote bag. Consider the weight of your chosen yarn and adjust the quantity accordingly.
V. Step-by-Step Crochet Instructions
A. Creating the Base
- Starting the Foundation Chain
- Begin your tote bag by creating a foundation chain of stitches, ensuring it’s the desired length for the base.
- Single Crochet Row
- Work a row of single crochet stitches into the foundation chain, creating a solid and sturdy foundation for your tote bag.
B. Building Up the Sides
- Stitch Increases
- To shape the sides of your tote bag, use stitch increases to add more stitches to each row. This will gradually widen the bag and provide more room for your belongings.
- Maintaining Stitch Count
- Keep track of your stitch count to ensure your bag is symmetrical and uniform throughout. Use stitch markers if needed to help you identify important stitch placements.
C. Shaping the Tote Bag Handles
- Identifying Handle Placement
- Determine where you want your tote bag handles to be positioned. Mark these spots by securing stitch markers or contrasting yarn.
- Creating Handle Openings
- Follow the pattern instructions to create openings for your tote bag handles. This may involve skipping stitches or working special stitch combinations to form buttonholes.
D. Finalizing the Top Edge
- Stitch Pattern Selection
- Choose a stitch pattern that complements the overall design of your tote bag. Consider patterns that provide structure and stability to the top edge.
- Finishing with Appropriate Edging
- Add a clean and polished finish to your tote bag by applying an appropriate edging technique. This could be a simple single crochet border or a decorative picot edge.
E. Adding Embellishments (Optional)
- Crocheted Flowers
- Enhance the aesthetic appeal of your tote bag by creating and attaching crocheted flowers. Experiment with different flower patterns and colors to add a personalized touch.
- Buttons, Beads, or Tassels
- Incorporate buttons, beads, or tassels to add a touch of flair and functionality to your tote bag. Sew them securely onto your bag using a tapestry needle and matching yarn.
VI. Assembling and Finishing Touches
A. Securing Loose Ends
– Weave in loose ends of yarn using a tapestry needle, ensuring that they are securely hidden within the stitches to prevent unraveling.
B. Blocking the Project (Optional)
– If desired, block your crocheted tote bag to shape and size by wetting it, gently stretching it to the desired dimensions, and allowing it to dry flat.
C. Sewing the Tote Bag (If Required)
– Some tote bag patterns may require sewing or joining various crochet pieces together. Follow the pattern instructions for any assembly or sewing steps.
VII. Personalizing and Customizing Your Tote Bag

A. Adding Pockets
– Enhance the functionality of your tote bag by adding pockets. Crochet or sew them onto the inside or outside of the bag to hold smaller items or provide organizational compartments.
B. Incorporating Lining
– To give your tote bag a polished and professional look, consider adding a fabric lining. Measure and sew the lining to fit the dimensions of your bag, and attach it securely.
VIII. Aftercare and Maintenance
A. Cleaning and Washing Instructions
– Different yarn types and finishes may require specific cleaning methods. Follow the care instructions for your chosen yarn to keep your tote bag looking fresh and clean.
B. Storing the Tote Bag
– When not in use, store your crocheted tote bag in a cool and dry environment, preferably in a breathable fabric bag, to prevent damage and preserve its shape.
IX. Summary of Key Steps
- Recap of the main crochet process
- Starting with the foundation chain and single crochet row, building up the sides, shaping the handles, finalizing the top edge, and adding embellishments.
- Key considerations and useful tips
- Plan your design, choose the right yarn, maintain stitch count, and pay attention to finishing touches to achieve a stunning crocheted tote bag.
How to Tutorial
X. Frequently Asked Questions (FAQs)
Can I use different yarn weights for a tote bag?
Yes, you can use different yarn weights for a tote bag, but there are some important factors to consider:
Durability and Strength: Tote bags are often used to carry various items, so it’s important to choose a yarn weight that provides sufficient durability and strength. Thicker yarns (higher weight numbers) tend to be sturdier and better suited for items that will hold weight.
Aesthetics: Different yarn weights can give your tote bag a different appearance. Thicker yarns can create a chunkier, more textured look, while thinner yarns can result in a finer, more delicate appearance.
Pattern Adaptation: If you’re using a specific tote bag pattern, make sure to check if the pattern specifies a particular yarn weight. If the pattern is designed for a certain weight and you want to use a different weight, you might need to make adjustments to the pattern to accommodate the change in gauge.
Gauge and Sizing: Yarn weight affects the gauge of your project, which in turn affects the size of the finished item. If you’re switching yarn weights, you’ll need to swatch and adjust your pattern accordingly to ensure your tote bag turns out the right size.
Handle Comfort: Thicker yarns might result in sturdier handles that are more comfortable to hold, especially when carrying heavier loads.
How long does it typically take to complete a crochet tote bag?
The time it takes to complete a crochet tote bag can vary widely based on factors such as your crochet speed, complexity of the pattern, yarn weight, and the time you can dedicate to crafting. On average, a simple tote bag might take a few days to a week to complete, while more intricate designs could take a couple of weeks or more.
Can I sell crocheted tote bags that I make from patterns?
Yes, you can generally sell crocheted tote bags that you make from patterns, but there are a few important points to consider:
Pattern Usage: Ensure that the pattern you are using for the tote bag allows for commercial use or selling of the finished items. Some patterns are for personal use only and do not grant permission for selling the products made from them.
Credit and Licensing: Some pattern designers may require you to give them credit for the design if you’re selling items made from their patterns. Make sure to read and follow the pattern’s terms and conditions.
Originality: If you modify the pattern significantly or add your own creative elements, your finished product might be considered an original work, even if based on a pattern. However, using the pattern as a starting point without significant modifications could raise copyright issues.
Mass Production: Be cautious when considering mass production of items from a single pattern. Some pattern designers limit the number of items you can sell from their pattern or might require a separate licensing agreement for mass production.
Local Laws and Regulations: Depending on your location, there might be specific regulations related to selling handmade items. It’s a good idea to research any local laws or regulations that might apply to your situation.
Ethical Considerations: Respecting
How can I resize a tote bag pattern to fit my needs?
To resize a tote bag pattern, follow these steps:
Gauge Check: Make a gauge swatch with your chosen yarn to determine stitches per inch. Compare it to the pattern’s gauge.
Calculate Ratios: Determine the desired final dimensions. Calculate the ratio of your desired dimensions to the original pattern’s dimensions.
Adjust Stitch Counts: Multiply or divide stitch counts in the pattern by the calculated ratio.
Handle Changes: Adjust handle lengths and placements accordingly.
Test and Adjust: Crochet a sample and check if the size matches your intentions. Make further adjustments as needed.
What if I make a mistake while crocheting?
If you make a mistake while crocheting:
Pause: Stop crocheting immediately to prevent the mistake from spreading.
Undo Stitches: Carefully unravel stitches to the point before the mistake.
Fix Mistake: Correct the mistake by re-crocheting the affected area.
Check Pattern: If using a pattern, refer to it to ensure accuracy.
Count Stitches: Count stitches periodically to catch errors early.
Practice Patience: Mistakes happen; stay patient and don’t rush.
Practice and experience will improve your ability to spot and fix mistakes.
XI. Conclusion
Crocheting a tote bag is a fulfilling and creative endeavor that allows you to showcase your skills and express your unique style. With the right tools, materials, and patterns, you can crochet a stunning tote bag that will be both functional and fashionable. So grab your crochet hooks, select your favorite yarn, and embark on this exciting journey of creating your very own crocheted tote bag. Enjoy the process and the satisfaction of carrying a one-of-a-kind accessory that you made with love!